Searx: How To Setup Your Own Search Engine
How To Setup Your Own Private Search Engine on Debian

Keep Your Search Private. Because What You Search for Reflects Who You Are.
So let’s go do something really fun this Saturday night: We’re gonna install and setup our own privacy respecting meta-search engine using SearX:
Searx is a free internet metasearch engine which aggregates results from more than 70 search services. Users are neither tracked nor profiled. Additionally, searx can be used over Tor for online anonymity.
Searx has been around for a while, and it’s been endorsed by major projects such as the Debian Freedombox, the La Quadrature du Net as well as many other organizations who advocate freedom of expression and promote digital rights.
But Searx is more than “simply” a privacy respecting search engine:
SearX is a highly capable metasearch engine, which can be used as an information retrieval tool also in corporate settings. Searx uses the data of various web search engines to deliver its own results.
Why You Need A Privacy-Respecting Metasearch Engine
You query Searx, Searx then queries the search engines you favor and then delivers the results to you. This is actually pretty cool, and after you setup Searx to work with the search engines that are important to you, you’ll notice that you can leverage the results of various search engines to your benefit. Instead of querying only one at a time, you’ll be able to get ‘em all with only one simple query.
This will usually get you more detailed results, and also help you bypassing tracking, personalization and other evil targeted advertisement attempts by search engines.
Searx does not store cookies from the search engines it queries, and further also filters out all advertisements from the aggregates results before serving these results to you:
You benefit from better relevance of your search results, less distractions by ads, and avoid ending up in your favorite search engines Filter bubble.
Because Searx uses HTTP POST requests instead of GET in the queries sent out to the engines, search queries are not easily intercepted on network level and won’t show up in your browser history.
Get Started with a Public Searx Instance
To get started with Searx, simply go check out one of the public Searx instances listed over at https://searx.space/ - a nice overview of public SearXNG (a Searx fork) and Searx engines. There you can play around a little to get a feel for what Searx is capable of.
As long as you trust the provider of the instance, or as private user with an occasional search or two, you might be just fine using one of the public Searx instance.
However, if you want to setup a dedicated corporate metasearch engine, or if you have the capacities of running your own Searx instance, then that is actually pretty easy and straightforward:
Searx is free open source software licensed under the AGPL, and it’s easy to setup and deploy your own instance. Documentation is pretty neat, you’ll get a good overview from the Searx Installation page. Step by step instructions are available for a Docker installation, via some handy installations script or as a detailed step by step installation.
A Debian package is available as of Debian 10 Buster (now oldstable), but as mostly the case this will give you rather old version. While good enough for home labs or intranets, I’d recommend pulling the latest Searx version when running it on a public server.
So let’s dig into that, assuming your running a Debian server with a typical LAMP surrounding, that is Apache and not Nginx… Yeah still holding onto that old Indian is it.
Install Searx with Debian and Apache
First we’ll go clone into the latest Searx release:
$ git clone https://github.com/searx/searx searx
$ cd searx
We’ll then install Searx itself:
$ sudo -H ./utils/searx.sh install all
We’ll also need the Filtron reverse proxy that can filter requests based on different rule sets and helps prevent bad stuff happening to your application backend:
$ sudo -H ./utils/filtron.sh install all
Further we’ll need Morty, a “sanitizer” that rewrites web pages to exclude malicious HTML tags and replaces external resource references to prevent information leaks to third parties:
$ sudo -H ./utils/morty.sh install all
Then we’re basically all set to go, that is to tell Apache to serve up the instance by using a reverse proxy. My Apache config aka sites-available for this looks something like this:
|
|
To serve it all up via TLS aka SSL I use LetsEncrypt and do something like this:
|
|
Then we have the Apache conf for Morty:
|
|
Now we’re almost there, we add uWSGI Apache support via Unix sockets - mod_proxy_uwsgi:
$ apt install uwsgi
$ apt install libapache2-mod-proxy-uwsgi
Restart the services:
$ systemctl restart apache2
$ service uwsgi restart searx
And for better privacy we disable our Apache logs for Searx by setting a SetEnvIf Request_URI "/searx" dontlog in our config, so we don’t log the Searx activity.
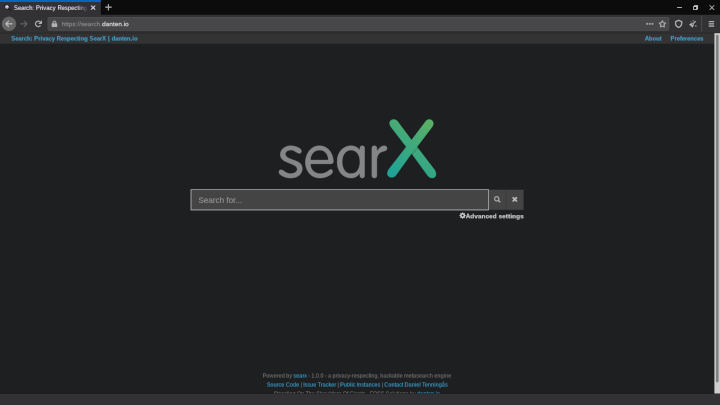
For more details on how to setup Searx with Apache also refer to the Searx documentation over at Install with Apache. Feel free to use my SearX instance at https://search.danten.io/ - happy searching!
:wq